
Magento 2 differences: filtering in the Admin grid
Welcome to the first in a series of articles which illustrate the differences between Magento 1 and Magento 2; this week we cover filtering in the Admin grid.
Filtering in Magento 1
Magento 1 offered a simple, inflexible, and somewhat confusing interface for filtering the entries in an Admin grid.

There are fields at the top of each column where you enter the search criteria. But you can only search by their default ten columns, nothing else. And some of the fields are quite narrow and stacked on top of each other, so it looks and feels very clumsy to use.
Then you have to find the right button to click. No it’s not that ‘Submit’ button above the columns, it’s the ‘Search’ button that’s further up. Don’t worry if you clicked the wrong one, I’ve done it a million times myself.
And once you leave Magento Admin, it forgets the search criteria. You have to re-enter them every time, which is especially annoying if it’s a search that you frequently use.
Filtering in Magento 2
Magento 2 strives to make filtering a more flexible and user-friendly experience.
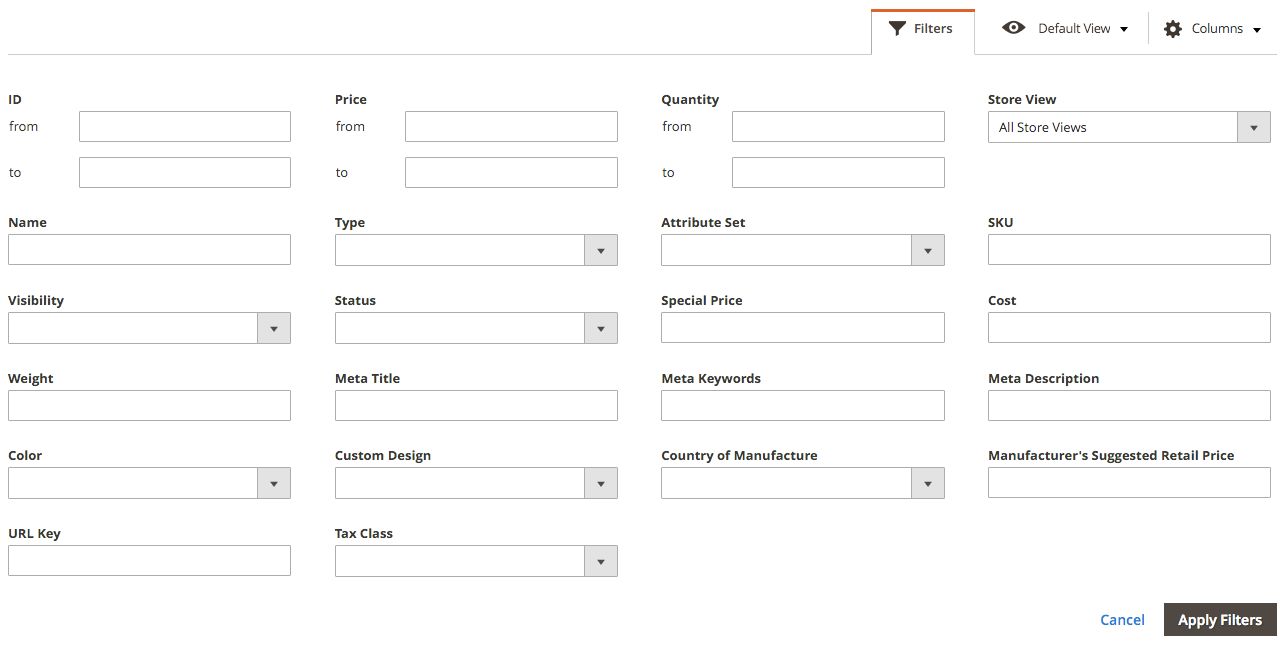
First, they did away with the clumsy fields at the top of the columns. Instead, there’s a simple ‘Filters’ button, complete with a funnel-shaped icon for the more visual minded. Clicking it opens a rather large tab, a bit jarring when you first see it despite the slight fade-in effect.
Once you get past the size, you will see that all of the fields are large and friendly, organized in a 4-across grid with tall rows so that even the stacked fields have enough room. It’s easy to understand without a second glance, so it’s worth the extra space they’ve given to it.
There’s also a single, clearly labelled button to run the search: ‘Apply Filters’, with an added ‘Cancel’ link if you want to close the tab without applying.
Once applied, the tab is closed and the active filters are clearly shown at the top of the grid. You can remove them individually by clicking on their round X icon, or use the ‘Clear all’ link on the right side to return to an unfiltered list.
Magento 2 – adding columns
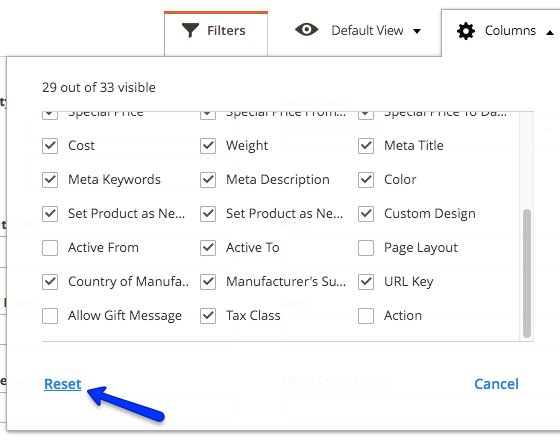
In Magento 2, you are no longer limited to the default columns. If you click the ‘Columns’ button, with the friendly cog icon, you’re presented with all the other attributes that can be added to the grid. Checking or unchecking a box instantly updates the grid behind, so you don’t need to waste another click to apply the change.
As a bonus, when columns are added to the grid they can become filterable, too. In this example, I added Tax Class to the grid and was then able to filter by it.
In a recent test using Magento’s Luma demo store data, I was able to filter by all these attributes when I added them to the grid:
- ID, from and to
- Price, from and to
- Quantity, from and to
- Store View
- Name
- Type
- Attribute Set
- SKU
- Visibility
- Status
- Special Price
- Cost
- Weight
- Meta Title
- Meta Keywords
- Meta Description
- Color
- Custom Design
- Country of Manufacture
- Manufacturer’s Suggested Retail Price
- URL Key
- Tax Class
If you want to reset the columns back to default, simply expand the Columns list again and click the ‘Reset’ link on the bottom left.
Magento 2 – rearranging columns
With Magento 2, you’re also no longer stuck with the default order of the columns. You can drag and drop to rearrange them however you like.
Magento 2 – saving custom views
Best of all, Magento 2 lets you save your filter and column settings. You can dial them up whenever you want to get the grid just the way you like it, and you can save as many as you like.
Click on the ‘Default View’ button with the eye icon, then click ‘Save View As…’ to enter a name for your view. Here you can also go back and use the edit icon to rename it or delete it later on, or to return to the default view.
Conclusion
Magento has made big strides in improving the usability and usefulness of the data grids in Magento 2. Not all the grids in Magento Admin have this new interface, but the most-used ones do – Products, Orders, and Customers. It’s one of my favourite new features in the Magento 2 Admin and I think it makes Magento much easier to work with day to day.