March 5, 2021
Facebook marketing grow your business with retargeting
Retargeting campaigns within Facebook, also known as remarketing campaigns in Google Ads, are an effective strategy to reinspire high-intent audiences to consider – and more importantly, purchase – your product.
Retargeting campaigns are one of many tools at your disposal on Facebook and are part of a greater paid social strategy that works in unison with other campaigns to generate sales. By default, as with all Facebook ads, retargeting campaigns run across both Instagram and Facebook.
The power of retargeting ads is defined by their relevance. The ads that are shown are hyper-relevant – displaying the exact product(s) that the customer has viewed or engaged with – in order to encourage them to re-enter into the buyer journey.
Using the Facebook Pixel (we’ll get onto this) retargeting ads feeds specific products based on customer behaviour on-site. Or you can manually choose a product/image to display.
Using this clever piece of code, the Facebook Pixel registers ‘event’s’ from which you will be able to build custom audiences.
These can include:
By allowing Facebook Pixel to work its magic rather than building your audiences in the self-serve ad tool, you can expect a boost in your ROI and more effective advertising.
This process produces a snippet of code, which you build into your site code.
There are plenty of ways to set up your pixel. And plenty of quality guides on how-to for each platform. We’re not trying to reinvent the wheel here. Stick to the good links below.
Alternatively. If you host your ecommerce site on BigCommerce, Shopify or another verified ecommerce platform you can leverage their native extensions or apps to upload your pixel.
For BigCommerce – refer to guidance here.
For Shopify – refer to guidance here.
If you’re working with an agency on your site build, you can ask them to do this step for you.
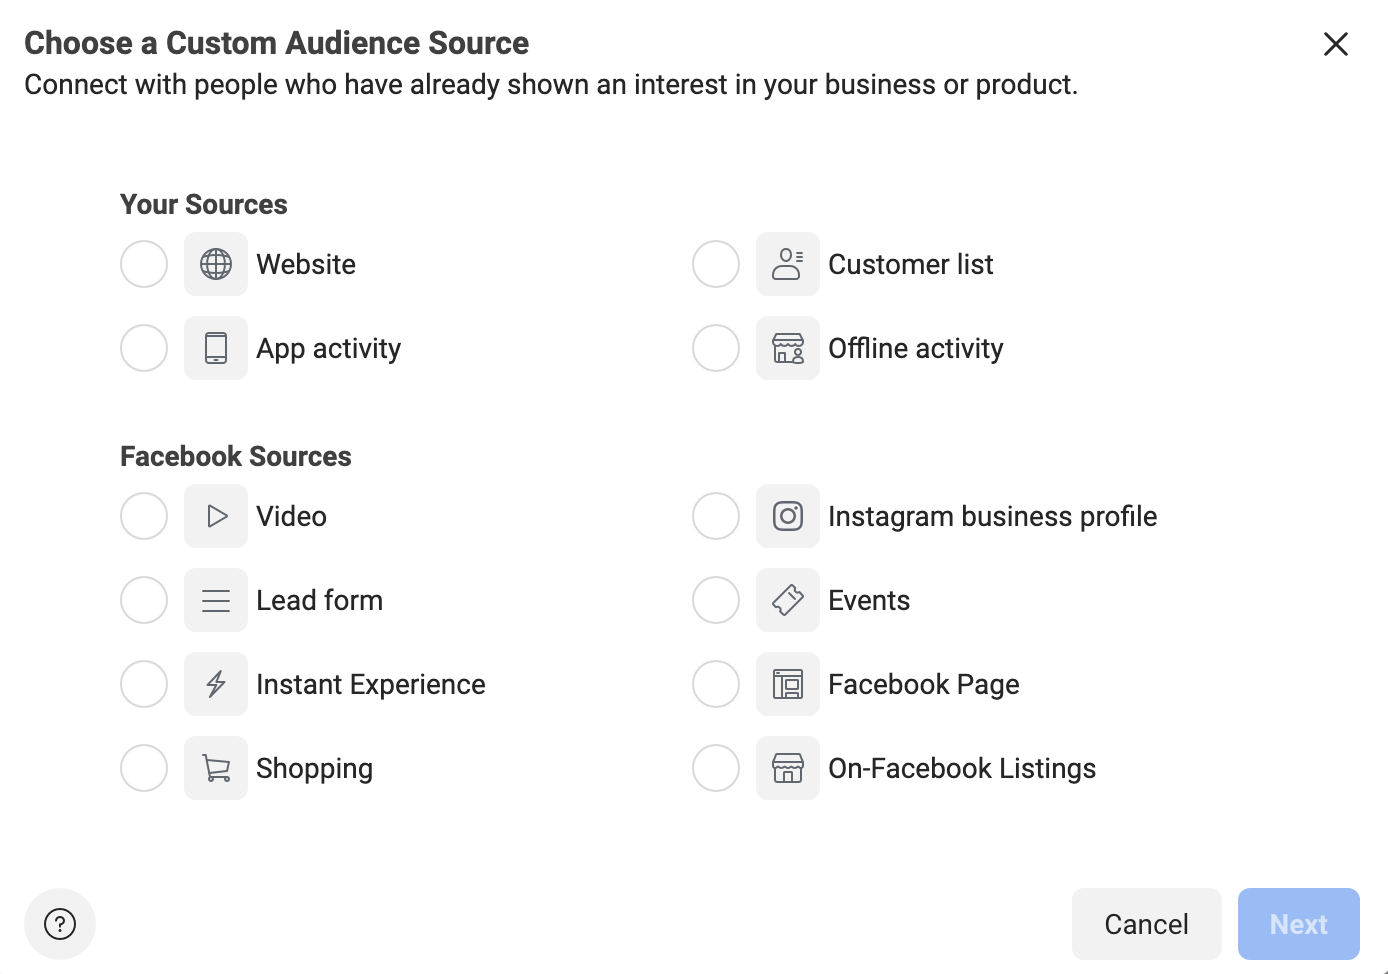
Custom audiences are one of the 4 different types of audiences you can build within Facebook Business Manager.
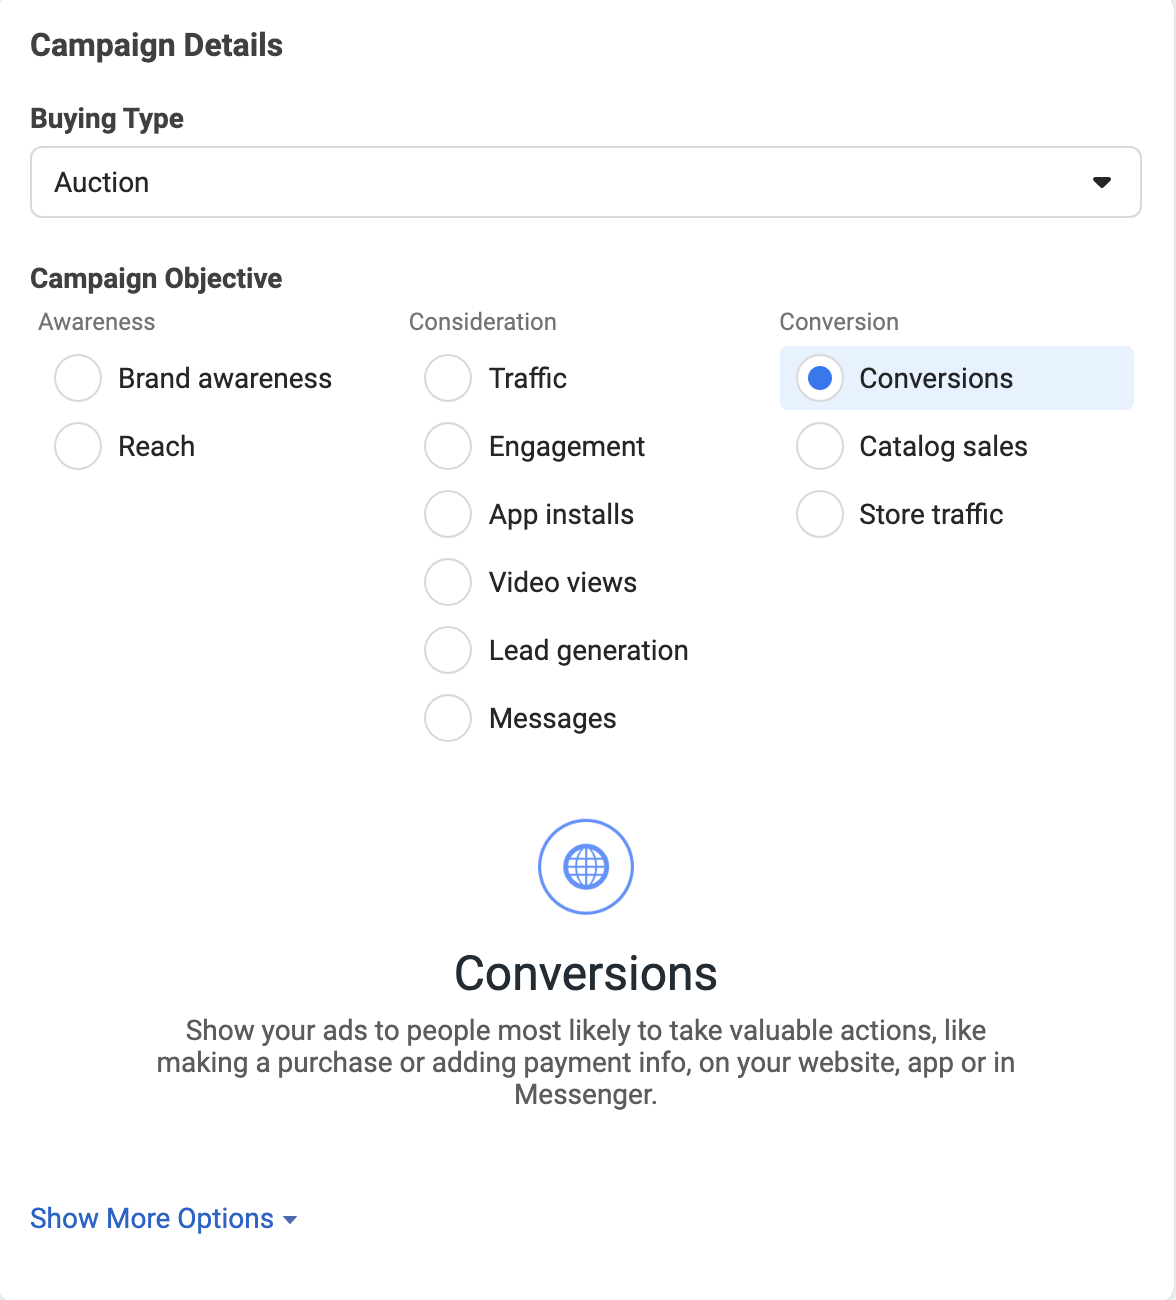
For retargeting campaigns, choose Custom Audiences.
For this example we’ll select ‘Website’. Click Next.
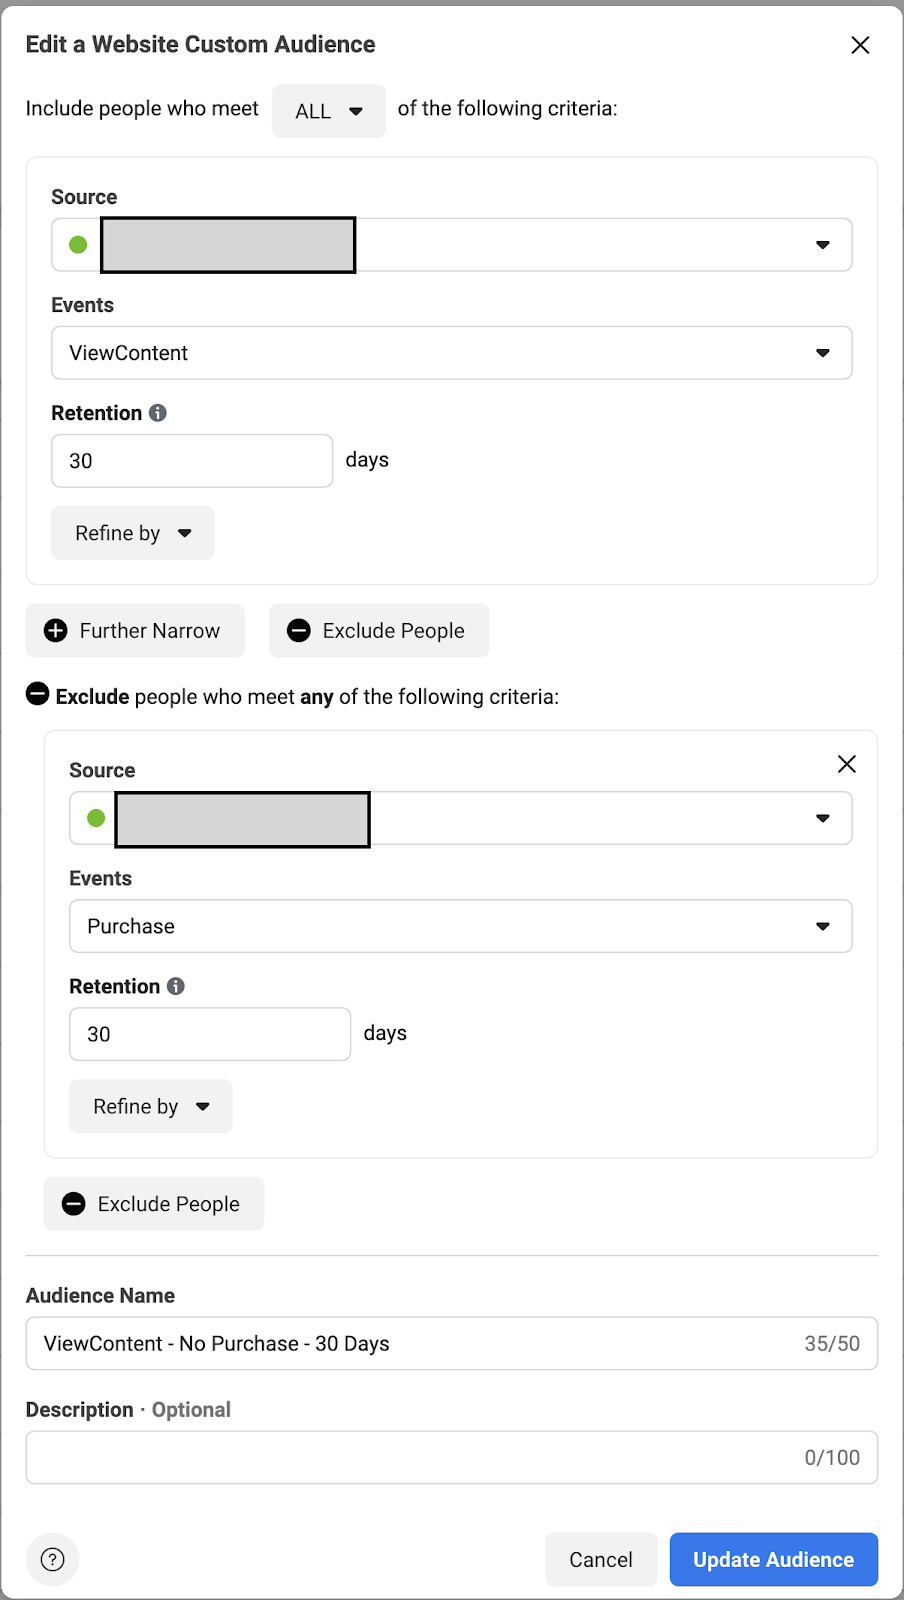
4. Configure your audience based on certain criteria. In this example:
*For products with a longer/shorter lead time, increase/reduce your retention window.
You’ll want to Exclude visitors who have already purchased as they’ll likely not need a new product so soon after purchase.
You can however, leverage ‘Purchased’ events to upsell similar products, or to retarget an audience to replenish their existing stock.
It’ll look a little something like this.
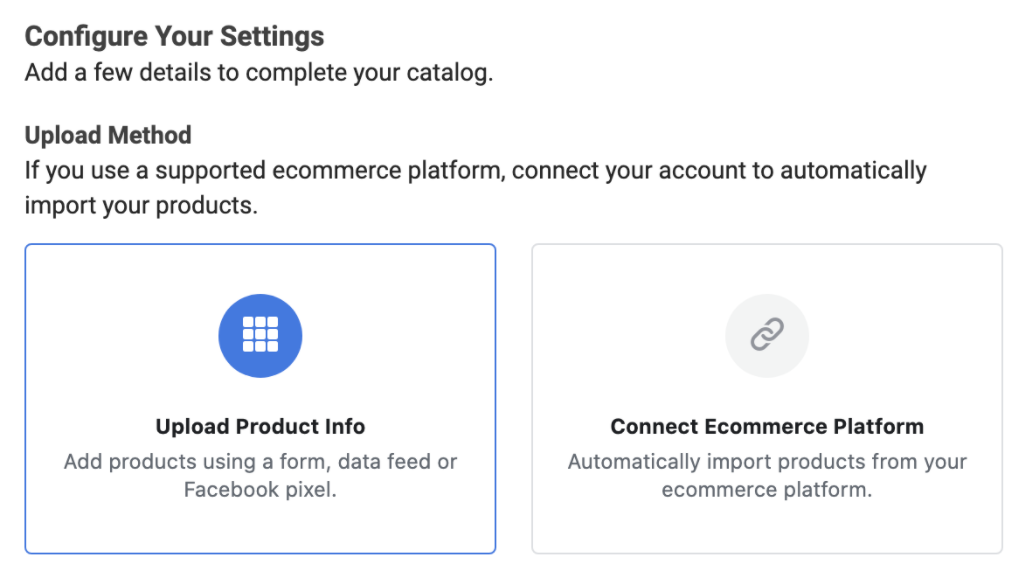
For your retargeting campaign to work properly, the ad will need to have access to your Product Catalogue. This will need to be set up for almost any campaign and ad type.
Before you begin: Remember to ensure both your Facebook and Instagram pages are business pages.
With the various events and ad types at your disposal, you’re going to have multiple retargeting ad sets running at once.
For this example we’ll stick to a retargeting campaign based on a ‘ViewContent’ event.
Before we start, familiarise yourself with your Facebook Ads hierarchy.
Equally, familiarise yourself with the different ad types. The ad types available will change depending on your objective. Typically at Space 48 we lean on these ads the most:
Let’s go through the steps of setting up a retargeting template.
This is a template, so pick and mix as you choose.
Why?

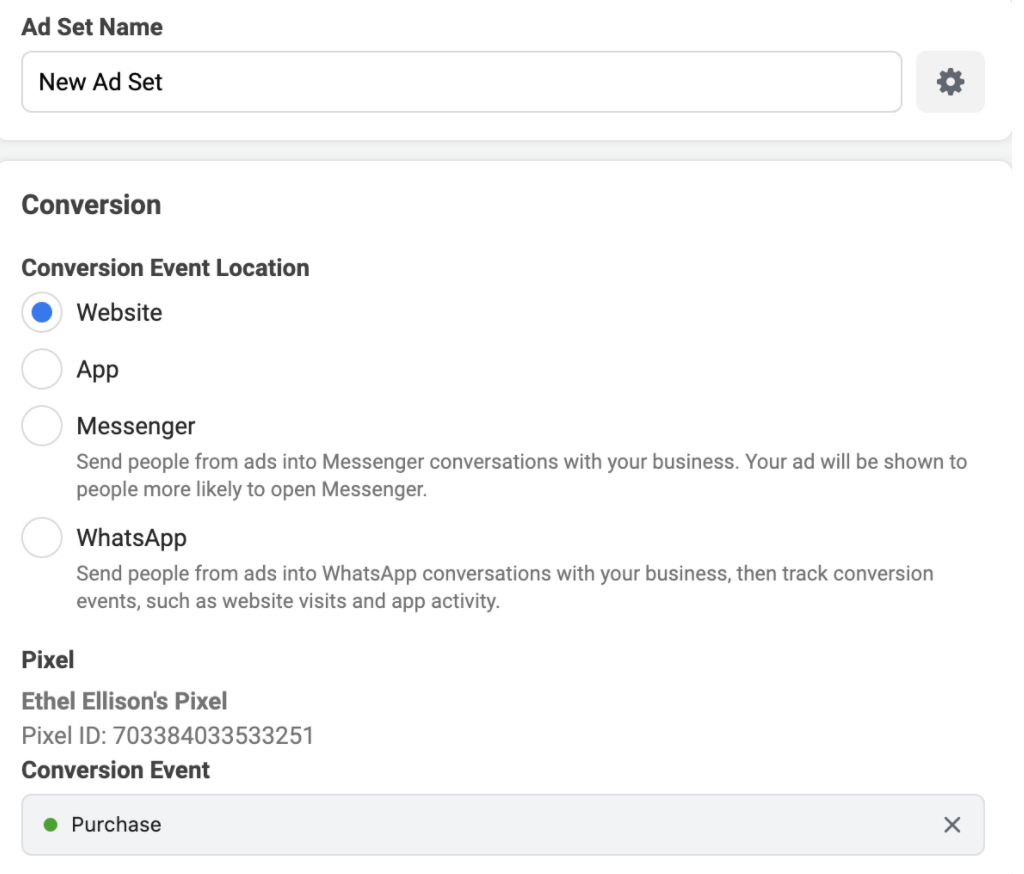
3. You will now arrive on the ‘Ad Set’ display. Name your ad set and choose your conversion event. This will be ‘Purchase’ as you’re measuring how many conversions your ad generates.
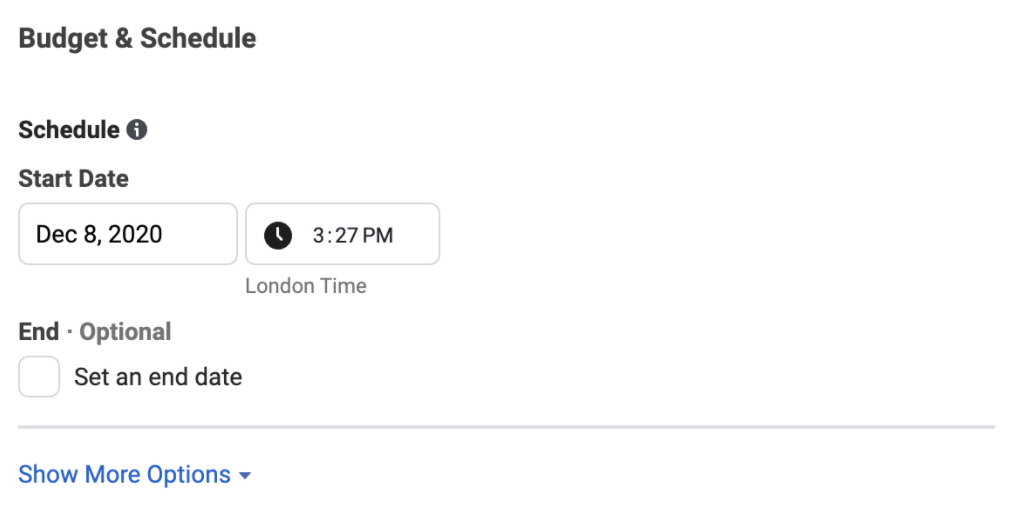
4. Set a start and end date as necessary.
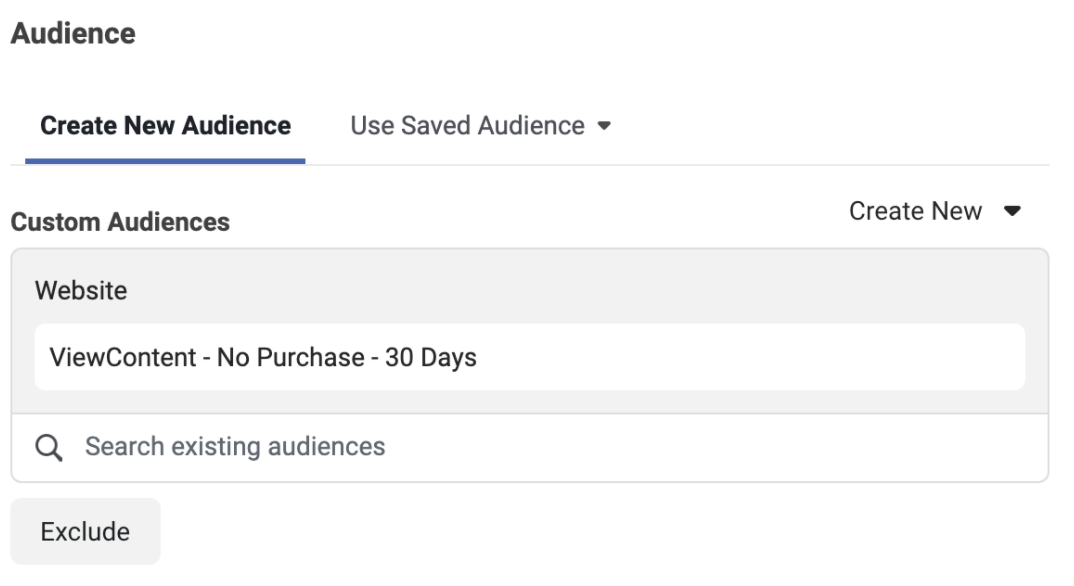
5. Add the ‘Custom Audience’ you made previously.
6. Choose your ‘Placement’. Automatic Placements mean that your ads will show across both Facebook and Instagrams, with all relevant Placement options. E.g. News Feed, Messenger or Stories.
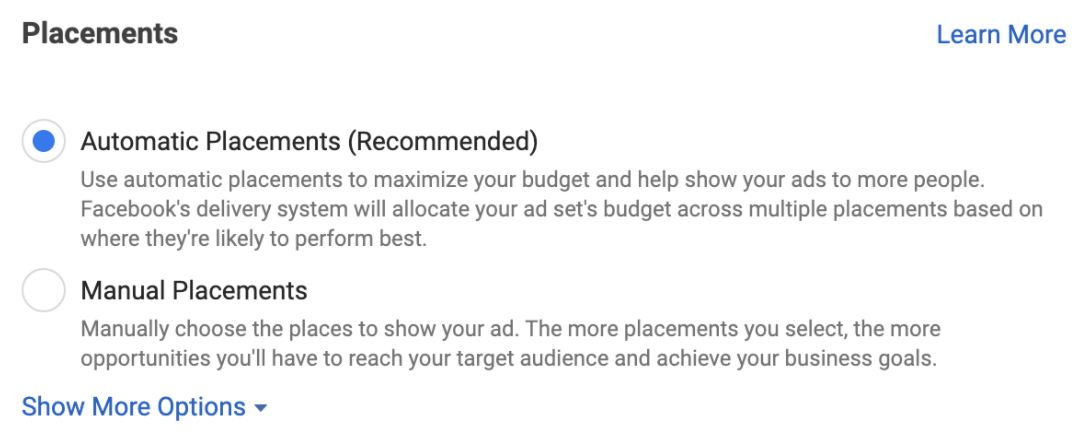
– Manual Placements are useful if you want to run ads on only one platform.
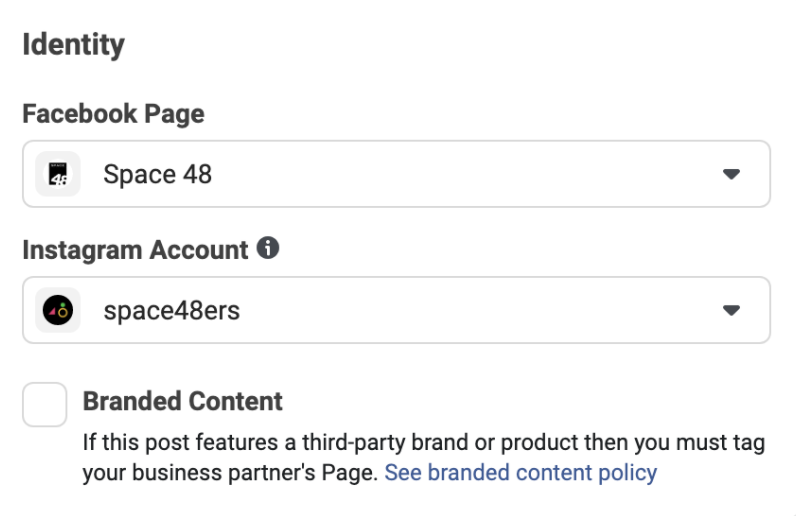
7. Clicking next will take you to the ‘Ads’ tag. Choose the Branded Page you would like the ad to feed from.
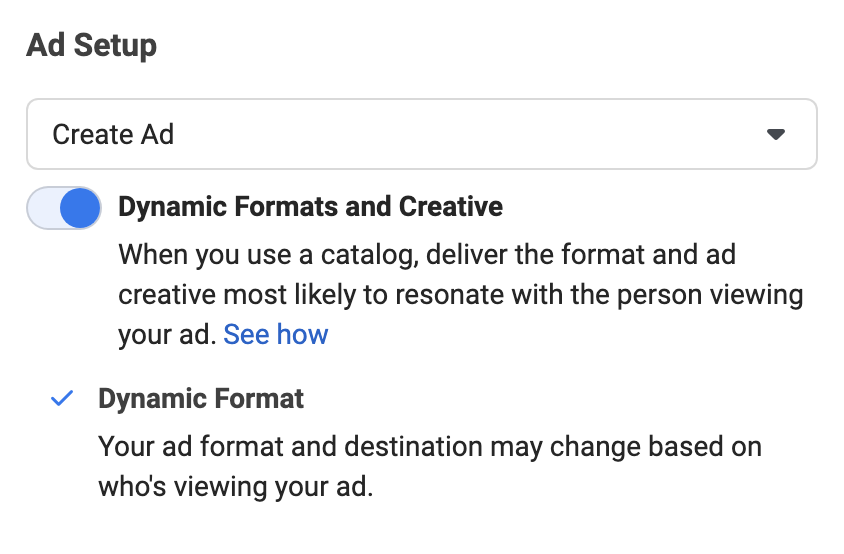
8. You can turn on Dynamic Formats and Creative. This will allow Facebook to dynamically show and place an ad that Facebook believes will fulfil your objective.
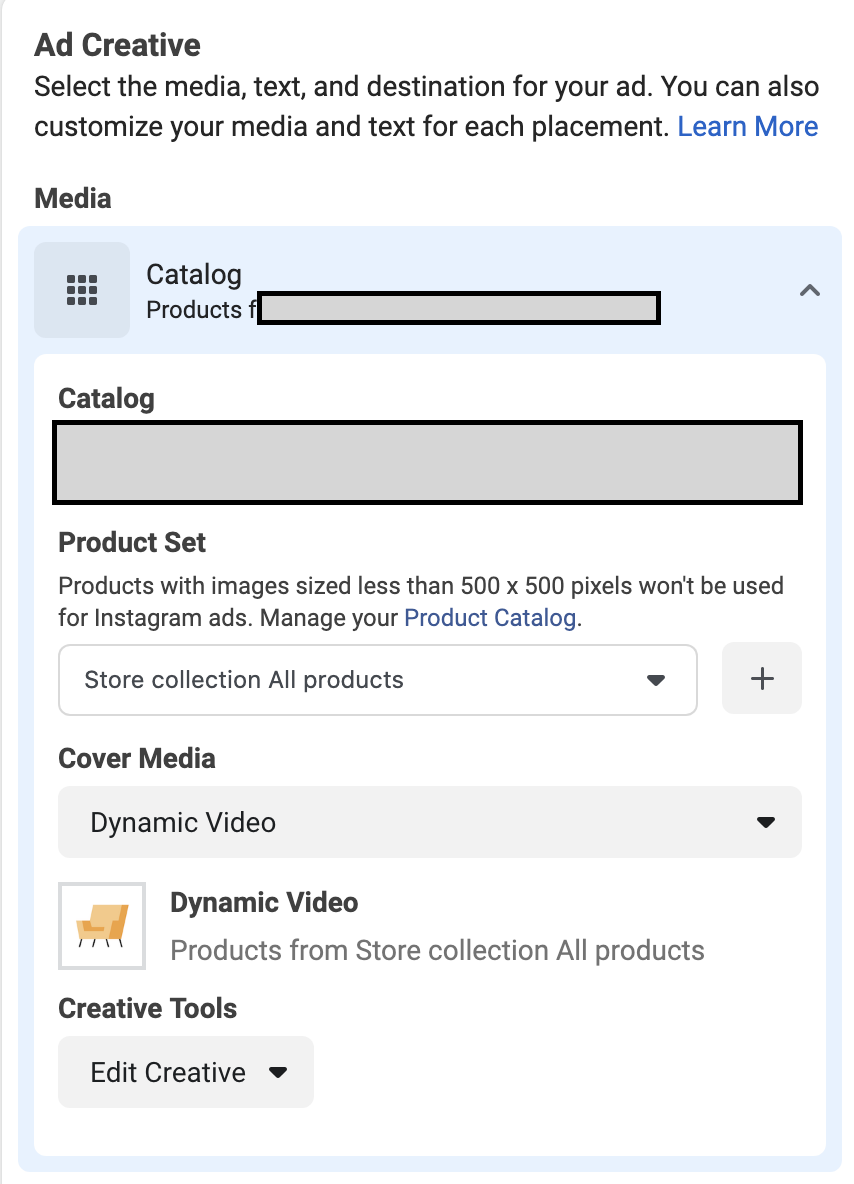
9. Choose your Catalog Feed. And then select your product set. For general remarketing, you want to display all your products.
10. Select ‘Dynamic Video’. This ensures that your ad automatically showcases the most relevant product.
11. Add a primary text.

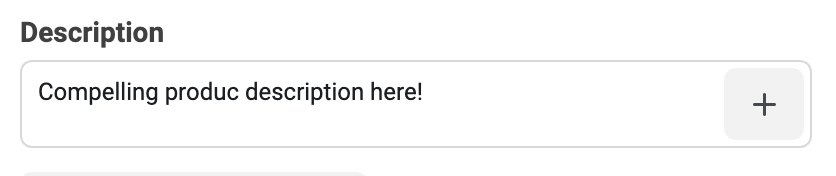
12. Add a product description. Either write the copy or use the catalog feed to display the product price by clicking the ‘+’.
13. Update your headline with a product name. (Use catalogue fields for this by clicking the ‘+’).

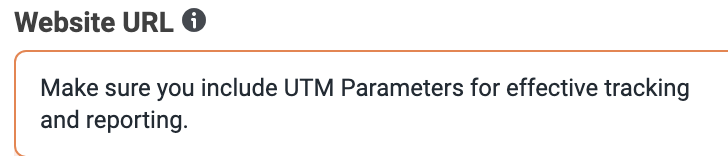
14. Add website URL with UTM parameters.
15. Update your ‘deep link’. This is the destination URL. Choosing ‘Product URL’ means users will automatically go to the URL of the product being displayed.
If the deeplink tag doesn’t work. Try {{product.url}} instead.

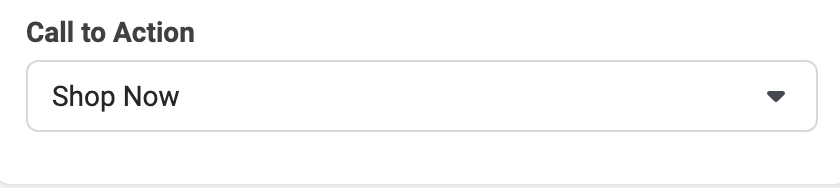
16. Select your CTA. ‘Shop Now’ makes the most sense.
17. Publish.
And there you go. A retargeting campaign is live! Or scheduled to be live.
This is just one example. Facebook Ads is vast and wide and full of opportunities. Getting familiar with the interface is important, and partnering up with an agency like Space 48 is a great way to get comfortable and reap the rewards. Start advertising and increasing your sales today. Get in touch with our team to get started.